Counselor Tab: Updated, Remodeled, Robust
There are 2 ways to access the Counseling tab for a Student:
- Pathway: From the Student Dashboard, Click on Special Programs/Accomm>Counseling, or
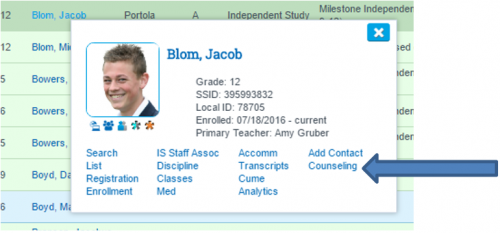
- Click on the Counseling link displayed on the Students Quick-view
1. Granting Permission to the new Counselor Tab:
- Go to Admin>Settings>Security>Security
- Click on Define Security Groups
- Look for Counselor Tab Permissions
- Assign this permission groups to all relevant staff members

2. Setting up and customizing the Counselor Tab
The main customizable areas are as follows:
- Domain
- Target Groups/Topics
- Services Provided
- Contact Method
When you first enter the Counselor pages, you will only see choices populated in the Domain area.
To set up these areas, go to Admin>Settings>Counseling Tab Settings. Here is what you will see:
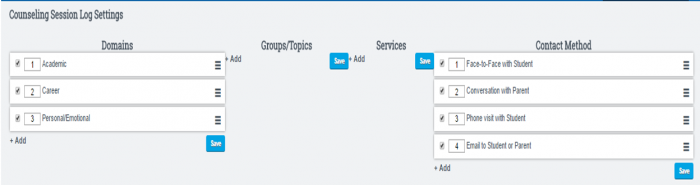
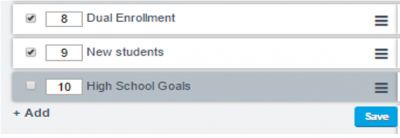
With any of these areas you can add and use the titles of your choice. The next screenshot is an example of choices a school may make…
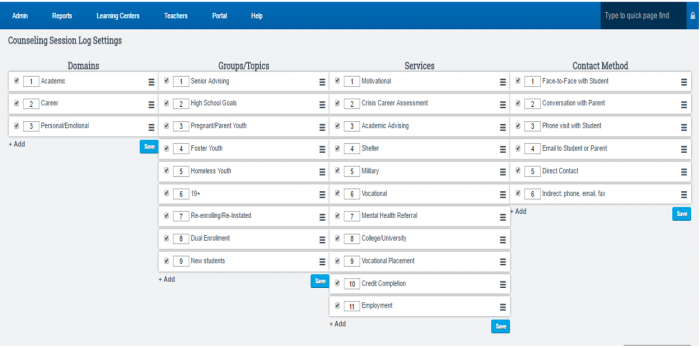
An entry is added by clicking on +Add. After adding all the choices you desire in an area - click SAVE.
Things to know:
- You can change the order of the list by clicking on the 3 bars
 and doing a drag-and-drop.
 - If you no longer want to use an item, just uncheck the box and the choice will turn gray and no longer be available.
3. Using the Counselor tab to record a Counseling Session.
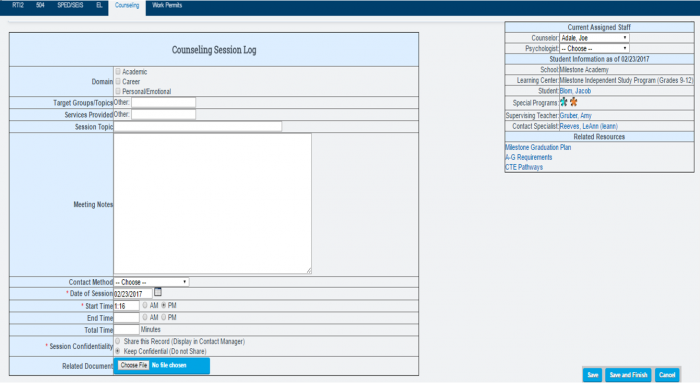
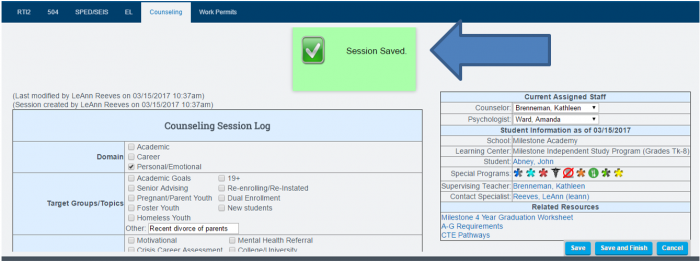
After Setup, your Counselor tab will look something like this:
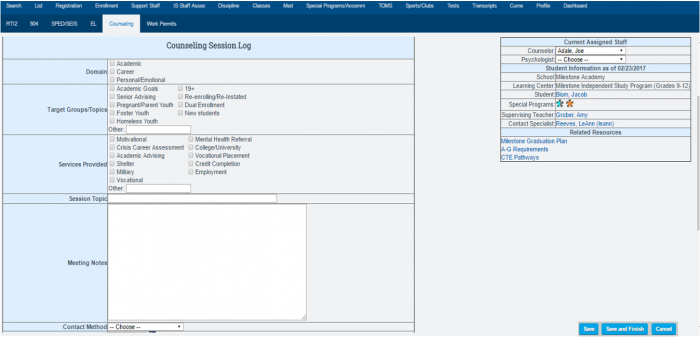
- You will record a Session on the left-hand side of the page
- The right-hand table provides a place to identify:
- The Counselor and/or Psychologist assigned to a Student
- Links to any Special programs, The AAPor Graduation Plan, A-G Student Page, CTE Student Page, and the Supervising Teacher’s Dashboard.
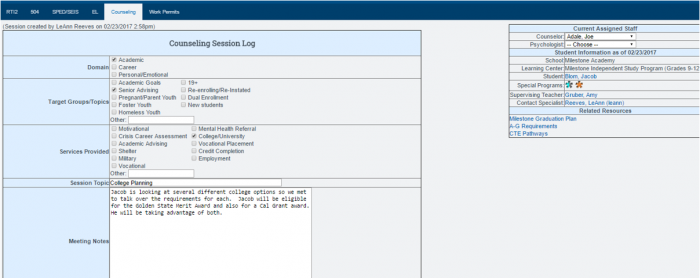
The upper-portion of the Session Log provides details of what is discussed during the session…
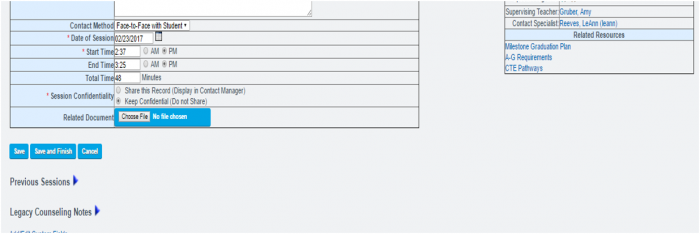
The lower-portion of Session tracks
- The time spent in the session
- Notes any Previous Sessions
- Notes any Legacy Counseling Notes
4. Options for Saving a Session
There are various options and warnings available when it comes to SAVING a session.
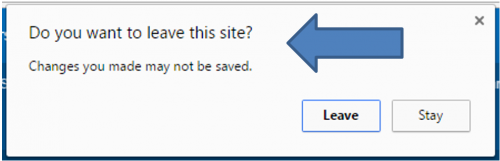
- If you try to leave the page and forget to SAVE, you will be warned to save your changes BEFORE you leave the page:
- If you are working on several sessions at once and want to temporarily SAVE what you have done in the session so far, click SAVE. This will keep the session open for further input.
- Once you are satisfied with your session and want to save the entire session, click
SAVE AND FINISH. This fully saves the session and moves you to a blank save page. The session is now moved to the Previous Session area of the Counseling Tab.
