Embedded Letters
I. Adding Embedded Letters
- Step 1. Go to the student page (could be dashboard, enrollment pages, etc.) that you want to embed a letter into.
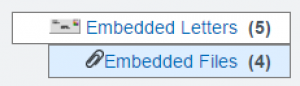
- Step 2. Click on the Embedded Letters link at the bottom of the page.
- Step 3. Click on the green plus icon next to “Add New Letter”.

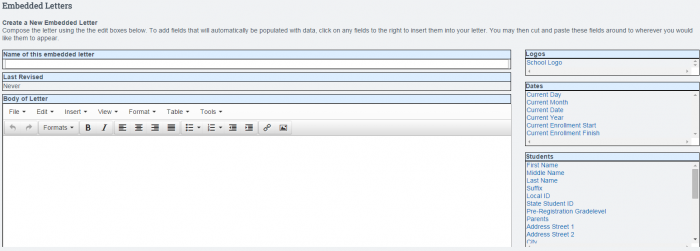
- Step 4. Enter the name of the letter, enter the information needed into the body of the letter, (you can enter date fields, student fields, and assigned staff fields to the right of the Body to insert pre-filled information) and click save.
- Click Print link the generate a PDF or the Email link to create a new email to send out your letter.
II. Managing Embedded Letters
- Step 1. Go to the page with the embedded letter.
- Step 2. Click on the blue arrow beside the letter you want to edit.
- Step 3. Make the changes you want and click save.
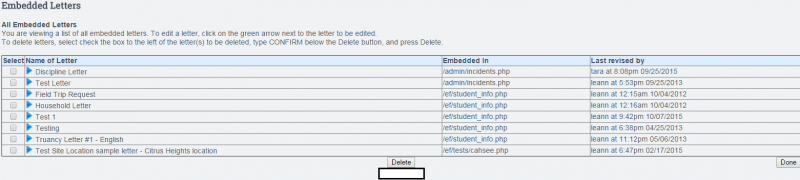
To see all embedded letters within the school, you can click the Manage button.
Click on the blue arrow next to the letter you want to edit.
III. Deleting Embedded Letters
- Step 1. Click on the Manage button for embedded letters.
- Step 2. Choose the box to the left of the letter you wish to delete.
- Step 3. Type CONFIRM into the box at the bottom of the page, then click on Delete.