Tags
Tags allow you to track the completion of processes such as student enrollments, staff hiring, or class creation. You first setup want you want to track by naming the tags and then as you complete a step in your processes, you can mark it completed or checked off. A search capability then allows you to view who or what has (or does not have) a specified tag.
Step 1: Tag Setup
Go to Admin>Settings>Tags
You can set tags for 4 different areas of the SIS.
- CMS Classes
- Parent Records
- Staff Records
- Student Records
A. Add a category to one of the areas by clicking the Add Group button
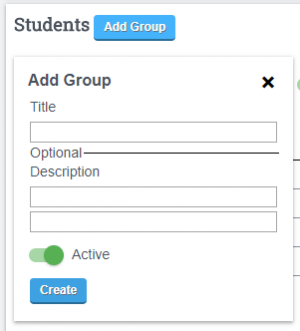
This gives you the ability to create a title and a description. Descriptions are not required. Click CREATE.
Once your category is titled, you can add Tags to the category. You can also delete the category or make it inactive by clicking on the green active button.
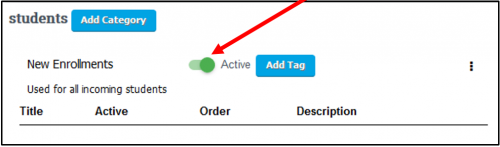
B. Add Tags
Click the Add Tag button to add Tag titles. Tags can have names, descriptions and can be ordered.
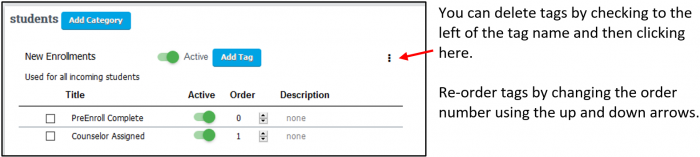
Re-order tags by hovering over the order number and using the up and down arrows.
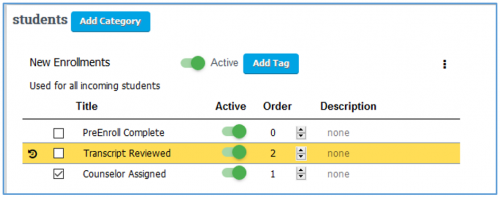
When an item has been edited, it is highlighted yellow. Click Save All on the bottom right of the page to save edits. Click the circular arrow to revert back to its last saved state.
Step 2: Using Tags
Using Students as an example, student tags are designed for use with each student on the student list or any place in the system you can hover over a student’s name to see the Quick View.
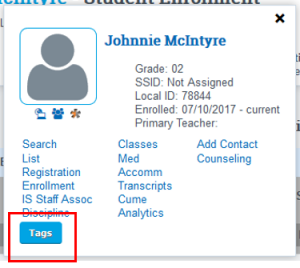
For example, after creating a student enrollment, hover over the student’s name to access the Quick View Tag button. Click the Tag button.
Adding a Tag:
Available tags will pop-up. Click on a tag + to add to a student. The above student view shows no tags chosen. The below shows the student has the PreEnroll Complete tag added. Click Save Changes and the window closes with the tag saved.
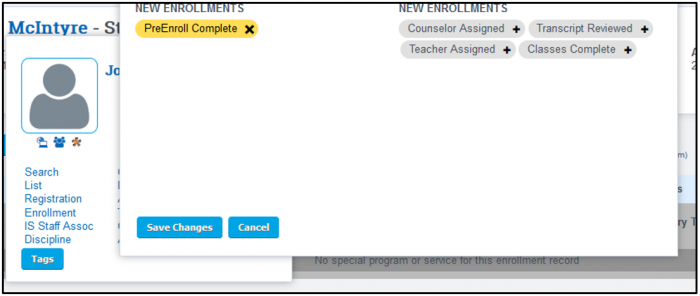

Now the Quick View shows the tag. If you need to add another tag, just click on any tag to open the box again.
Other tags can be used with
- CMS Classes – hover over the class name.
- Parent records – hover over a parent name.
- Staff Records – hover over a staff record.
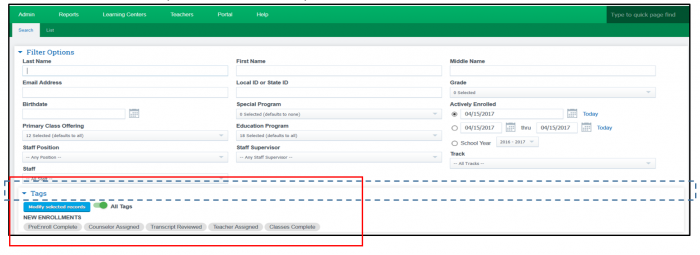
Part 3: Searching Lists for Tags
Access one of the four tag list areas (Students, Classes, Parents, Staff). The view below is the main student list (see red highlight). If no tags have been created for the category of students, only the word Tag will be visible. You can hide/collapse the Tag section by clicking on or anywhere along the line where the word TAG is (see blue dotted line).
To find a list of students who HAVE a tag, click a specific tag name once (green) then click Search.
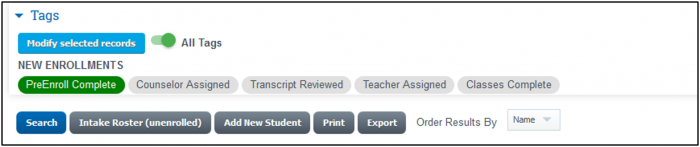
To find a list of students who DO NOT have a specific tag, click the tag name twice (red) and click Search.
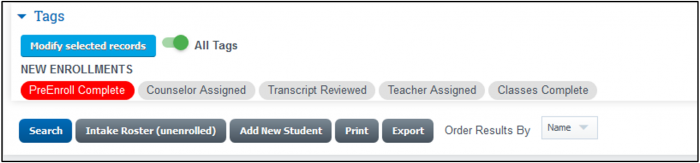
To find a list of students that have or do not have multiple tags, use the All Tags/Any Tags button (green button is a toggle – click to change).
- Setting the button to All Tags and then checking tag titles below to green will give you a list of students that have all tags chosen.
- Setting the button to Any Tags and then checking tag titles below to green will give you a list of students that have one or more of the chosen tags.
- Setting the button to All tags and then checking tag titles below to red will give you a list of students that are missing all tags chosen.
- Setting the button to Any Tags and then checking the tag titles below to red will give you a list of students that are missing one or more of the chosen tags.
Part 4: Set tags for a group of students
Make sure all tags are gray. Find your group by filtering students. For example, choose a teacher. Then Search
Check the first student and then scroll down to the bottom of the list and hold the CTRL key and the SHIFT key down at the same time – then check the last student. All students will be checked.
Click Modify Selected Students then drag the tag you want to give to all the students to the right under the word ADD.
These lists can be printed in a pdf or a csv.