Archiving Work Samples
- Step 1: Go to Teachers > PLS/Student Roster > Confirm the desired date range > click on the Upload Work Samples link.
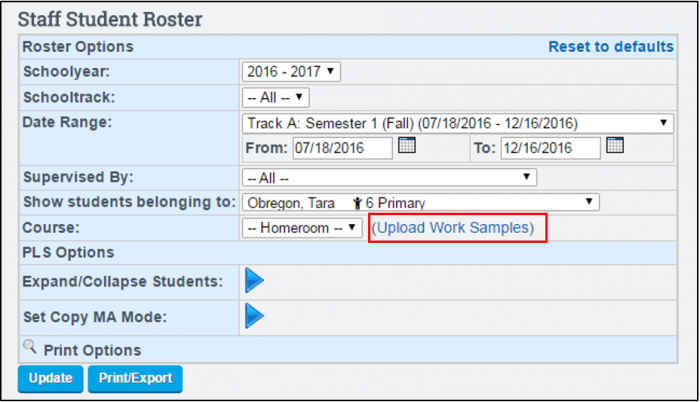
Tip: If you are a subject matter specialist and need to upload samples for a specific subject matter course, be sure to update your PLS Roster before clicking on the Work Sample Upload Link. The Quick Link Jump will by default show any classes affiliated with the Course indicator from your PLS roster when viewing the Work Sample upload page.
- Step 2: From Compliance Report edit or restrict any of the report options if desired.
Tip: Work samples can be uploaded directly from this page in lieu of using the Quick Link Jump from your PLS Roster if desired Teachers > Compliance > Archive. If any changes are made, be sure to click Generate Report to update.
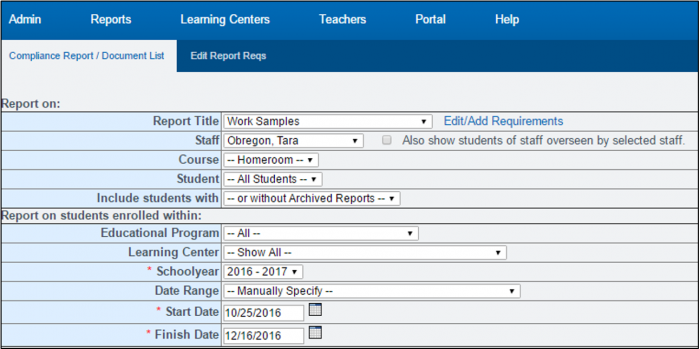
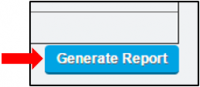
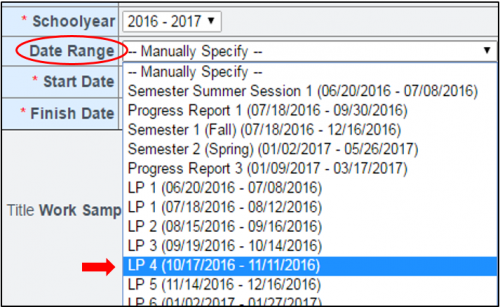
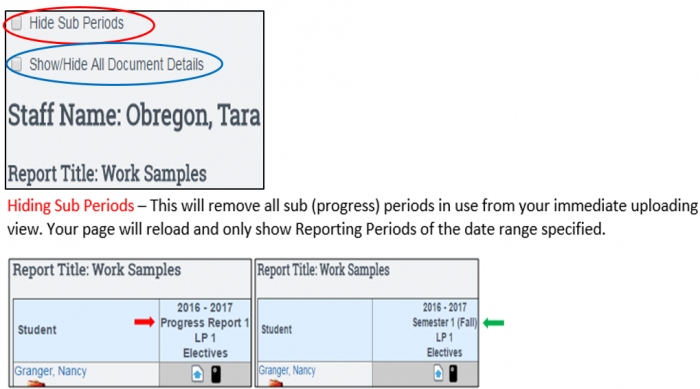
Tip: If you are uploading for a specific LP, and your page is currently showing all LP’s within a Semester or Reporting Period, under Date Range > select desired LP > and click Generate Report.
- Step 3: Scroll down to locate student(s) /subject category for the desired LP or School Period in need and select from upload options:
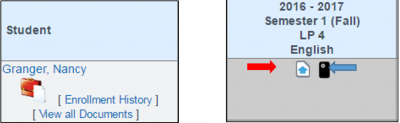
 Clicking this icon allows you to browse and select a document from your computer that you have scanned or saved to your computer.
 This icon allows you to send yourself a text message and reply by taking a picture of the sample, attaching from your photo gallery or device storage.
Cell Phone Upload Option:
- Once you click on the Cell phone icon, a confirmation will generate alerting you a text was sent to your cell phone device.

- Open your text message received, select the option to take a picture and auto attach to the text message or take a picture, save it to your phone’s picture file, then attach it to the text and send.
- When you’ve replied from your cell phone device, you’ll receive an additional text message alerting you that your sample has been received.

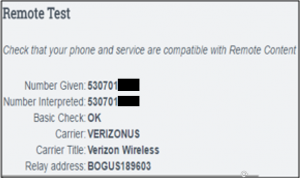
Tip: If you are experiencing a connection problem and would like to confirm that your cellular device is properly synched to your staff record, go to Admin > Archives > Test My Phone. Enter your cellular telephone number and click on Begin Test. If your carrier has been detected, and account status is confirmed you’ll receive a confirmation.
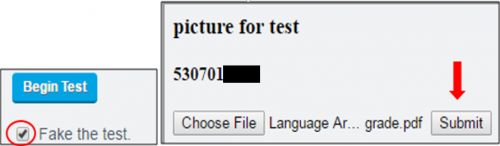
You may also test sample upload process by clicking the checkbox next to Fake the test and choosing a file to submit. You will receive an upload successful message indicating your connection was confirmed.
Additional Tips/ Tricks
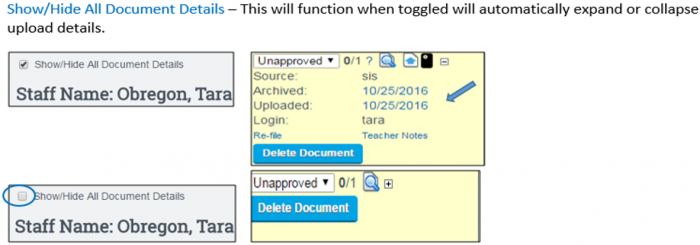
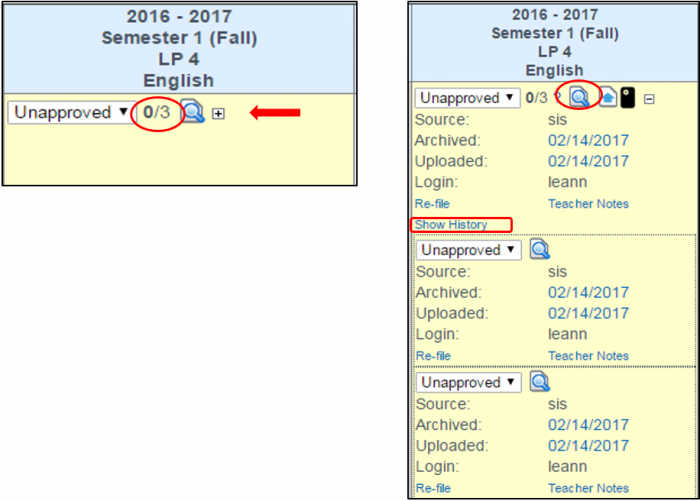
Work Samples are the only archive-able document able to be deleted upon a final typed confirmation. A Teacher or an Administrator may choose to delete if the Work Sample is still in an Unapproved, Rejected or Skipped status. Multiple work samples can be uploaded per subject category or LP/Reporting Period designation. The total number of samples found will generate on the latest document uploaded. To see all or collapse all documents use the toggle to show all Details as explained above or you may click on the + to the right of the magnifying glass/ view document icon, followed by Show History for an individual student.