Archiving a Master Agreement in the PLS
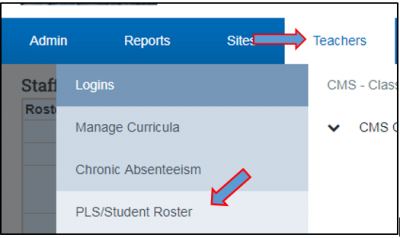
Go to Teachers > PLS/Student Roster
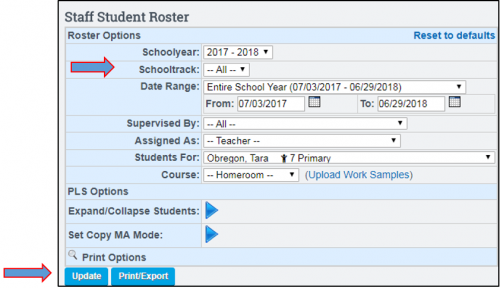
Select School Year, Track, and Date Range by drop down from PLS Roster Options. Click on the Update button.
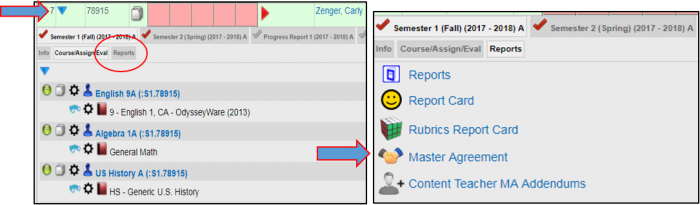
Click on the ![]() icon to expand the student’s folder for a list of classes the student has been enrolled in.
icon to expand the student’s folder for a list of classes the student has been enrolled in.
Note: If you are not seeing a list of classes, you must first enroll students in classes before creating a master agreement. Click on ![]() icon to create class enrollments. Once classes are visible, click on the Reports Tab, then the blue Master Agreement link.
icon to create class enrollments. Once classes are visible, click on the Reports Tab, then the blue Master Agreement link.
When creating a master agreement for the first time or if the student has a new enrollment record on the date shown you will see the following warning message. This is purely a warning message and may be removed by clicking on the red x after message details or if left alone the message will automatically disappear after master agreement settings have been saved and master agreement has been created for the date range indicated.

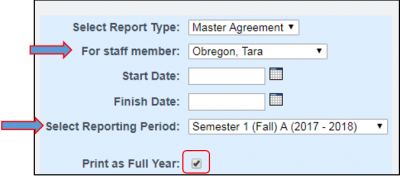
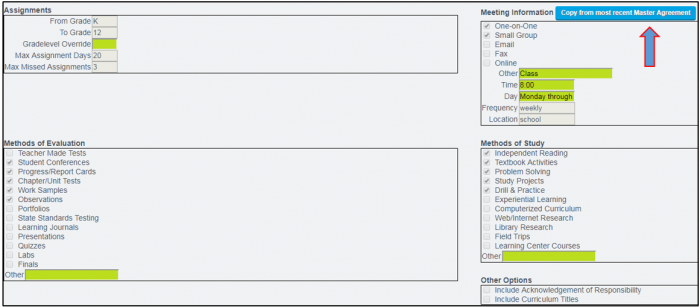
Report Type and Reporting Period Date Range will automatically generate based on search options from the PLS Roster. All required fields must be input prior to saving master agreement. Note: If you are creating a master agreement for another staff member select their name by drop down, otherwise your name will automatically default in this field. If archiving/printing by full year, be sure reporting period shown is a valid reporting period option of your school year calendar, and the Print as Full Year checkbox has been checked prior to saving.
If School Default Settings have been set, only highlighted fields in green can be edited. If you wish to copy master agreement settings from most recent master agreement document click on the button prior to saving.
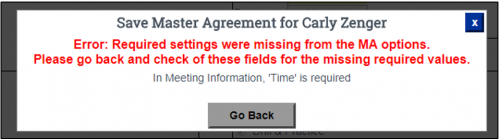
If a save is attempted prior to a required field being input, you will receive a warning to return to the master agreement settings page and input missing field.
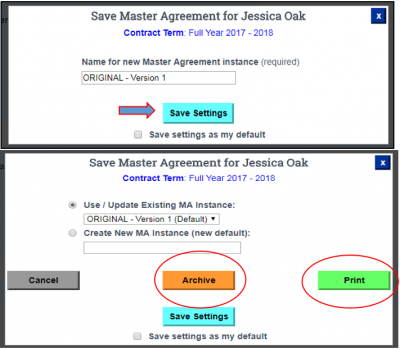
Once all required fields have been input click on Save Master Agreement (and Archive or Print). A dialogue box will appear allowing you to edit and customize the title of new master agreement instance you are creating or leave default title of Original – Version 1. Click on the Save Settings button to load the next dialogue box to select Archive or Print Options.
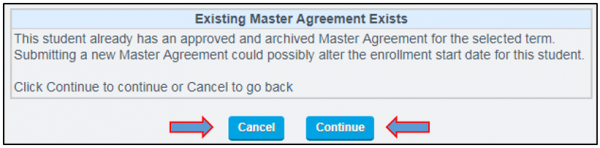
If the student you are currently working on already has a signed and accepted Master Agreement for the date range specified, you’ll receive a warning message. This is a warning that may be bypassed if desired. If you wish to proceed you can click the Continue button to move past notification or Cancel to return to the PLS Roster.
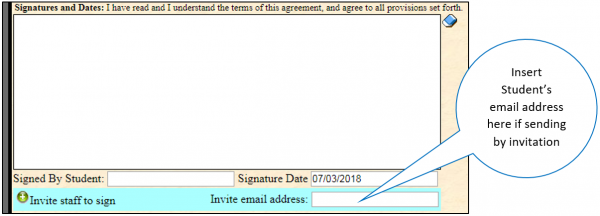
The Master Agreement document will open in a web version with signature boxes. If student and parent are not available to sign the document on your computer at the time of creating, you can email one or both an invitation to sign. After confirmation of student demographics as well as course schedule being shown correctly on your screen, scroll down the document to locate signature boxes.
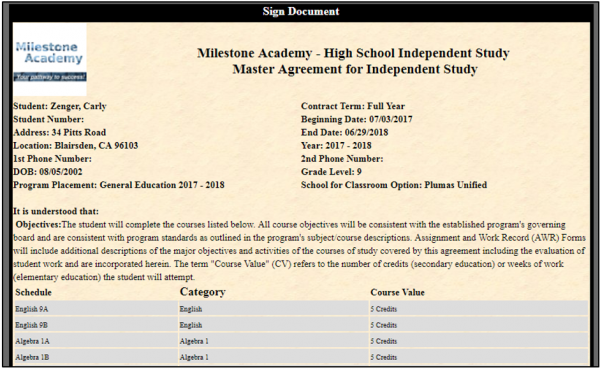
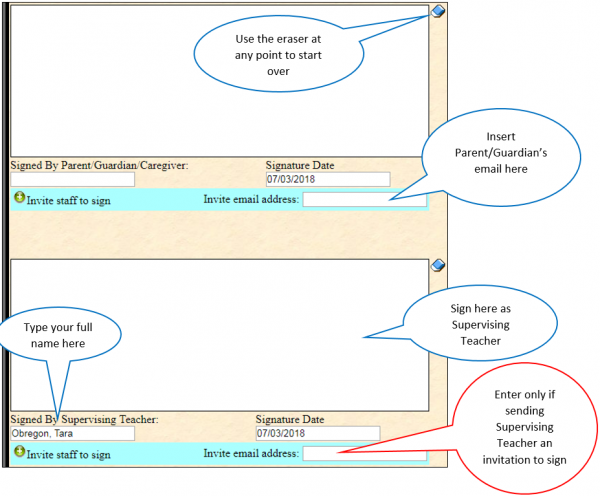
Note: Signature boxes will always be shown in the following order: 1) Student, 2) Parent/Guardian/Caregiver, 3) Supervising Teacher.
If the student, parent/guardian/caregiver, and supervising teacher are present, use the signature boxes below to sign and type full names in the signed by fields noted. Note: Do NOT enter student, parent/guardian/caregiver, or supervising teacher emails if one or more parties are signing master agreement at the time of creation, leave all email address fields blank.
Use Other Staff signature boxes to invite additional staff that might need to sign the Master Agreement. For example, SPED or Counseling Oversight Staff Members. You may invite by email or click on the Green invite staff to sign.. button to search by name or position if email is unknown.
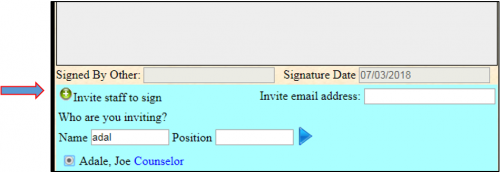
The signature box will turn grey if staff was sent invitation by name. In order to sign, staff must be logged into the SIS under their user login.
Repeat this process for the Acknowledgements and Responsibilities document if applicable. When all invitations have been entered or fulfilled, click on Send Invitation(s) / Submit Agreement at the bottom of the page.

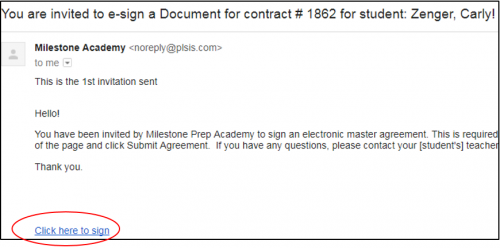
Documents are then automatically emailed to any student, parent/guardian/caregiver, as well as staff to sign. They will receive an email with the Click Here to Sign invitation link directing them to sign using their computer mouse, stylus pen or touchpad on their keyboard.
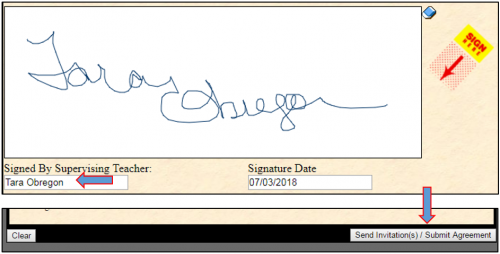
Users will scroll down the document to identify requested signature areas noted by the Sign Here/ Post it note. Once all Signature requests have been fulfilled, click on the Send Invitation(s) / Submit Agreement button at the bottom of the page.
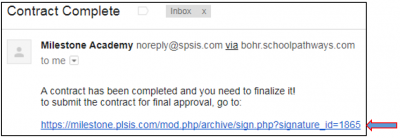
Once all parties have successfully signed and submitted the document to you (Supervising Teacher) for finalization, you will receive an email in your Inbox asking you to finalize the document by clicking on the appropriate link provided.
Review the document for complete Signatures and click the Send Invitations(s) / Submit Agreement button at the bottom of the page.
