ReportWriter Step 1
- Click on the Macintosh Download link on the SchoolPathways website.
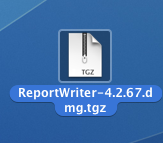
- Depending on what browser you are using, you'll get a ".tgz" or a ".tar" file.
The name will be something like "ReportWriter-4.2.67.dmg.tgz" or
"ReportWriter-4.2.67.dmg.tar". This file is an "archive" file and must be
expanded. Double-click on the file to expand it.
|
|
ReportWriter Step 2
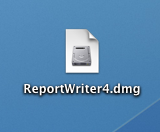
- Find the expanded ".dmg" file. It will have a name like "ReportWriter4.dmg".
- Double-Click on this file to mount the virtual disk icon.
- Find the original ".tar" or ".tgz" file and delete it. (Drag it to the trash)
|
|
ReportWriter Step 3
- Find the virtual disk icon and double click on it.
|

|
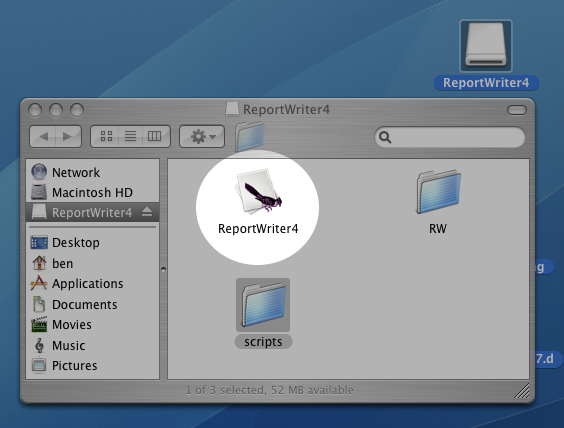
ReportWriter Step 4
- Double-click on the ReportWriter4 program icon inside the virtual disk window.
- The first time it runs, it will take a minute or two to "come up" while it
loads files specific to your Macintosh computer.
|
|
Installation Notes
ReportWriter 4 lives inside a virtual disk. It never "gets installed" on your
computer. Because of this, it can't be treated the same as many other programs.
Some things to consider:
- Do not delete "ReportWriter4.dmg".
- To run ReportWriter:
- double-click on the ".dmg" file
- double-click on "ReportWriter4" virtual disk
- double-click on ReportWriter icon.
- Do not try to take ReportWriter out of the virtual disk image and/or
put it into the "Applications" area. It must be run from the virtual disk
image on the desktop.
|
Do not delete or move either of these files.
|
ReportWriter Step 6
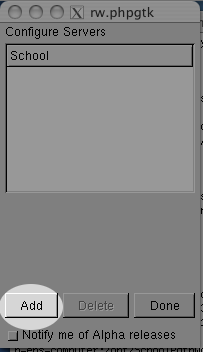
When the program first runs, you have to identify the school you are coming from.
- Click Add in order to add a school.
|
|
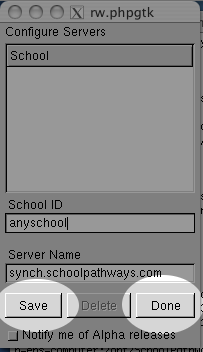
ReportWriter Step 7
When the program first runs, you have to identify the school you are coming from.
- Enter in the id code for your school as you've been told by SchoolPathways. The
id code for your school will be all lower case, and will not have any spaces or
punctuation.
- Do not change the server name.
- Click "Save".
- Click "Done".
|
|
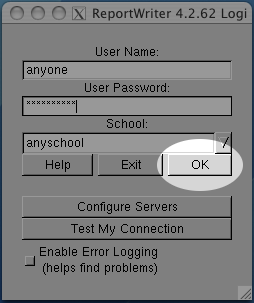
ReportWriter Step 8
- Enter in your login name and password.
- If the previous steps were done correctly, your school ID code
should already be displayed.
- Click "OK" to login.
|
|
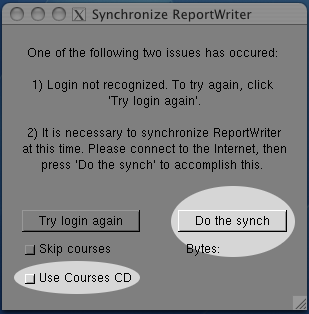
ReportWriter Step 9
ReportWriter must now "Synchronize" in order to pick up course information,
report templates, and program updates.
- If you have a course CD (speeds up first synch) click "Use Courses CD". This
can be downloaded from the SchoolPathways download page, and is recommended
if you are setting up more than one system.
- Click "Do the synch".
- If the synch fails for any reason, simply start the program again and restart the
synch until it completes.
|
|
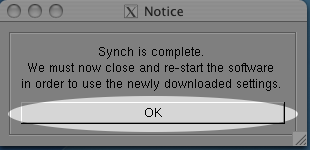
ReportWriter Step 10
- Click "OK" when the synch is done. The program will close.
- ReportWriter is now fully installed!
|
|