Xcode Tools Step 1
- Insert the Macintosh OSX Install DVD disk 1. Wait for the CD folder to open.
- Double-click on the "Xcode Tools" icon.
|

|
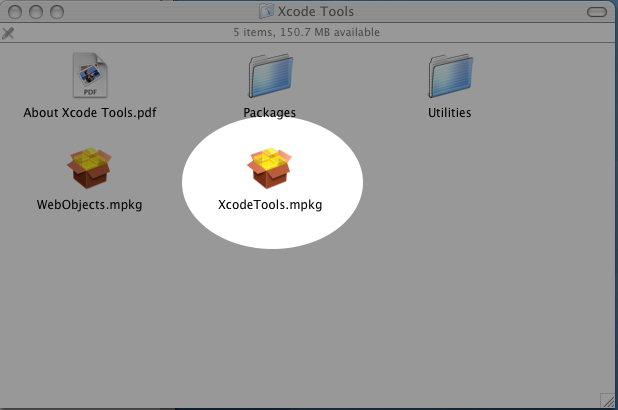
Xcode Tools Step 2
- A new window called "Xcode Tools" will appear.
- Double-click on the "XcodeTools.mpkg" icon.
|
|
Xcode Tools Step 3
|
|
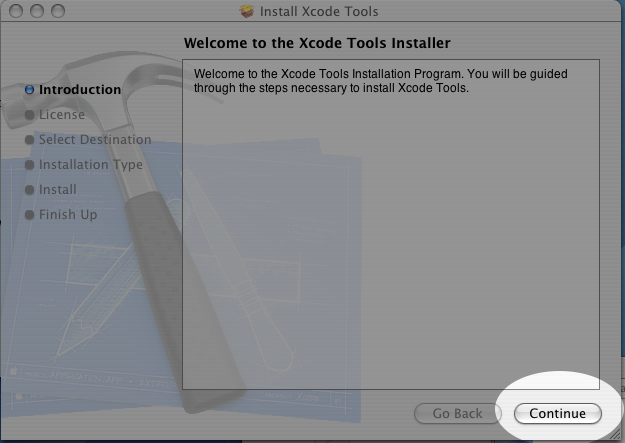
Xcode Tools Step 4
- Click "Continue".
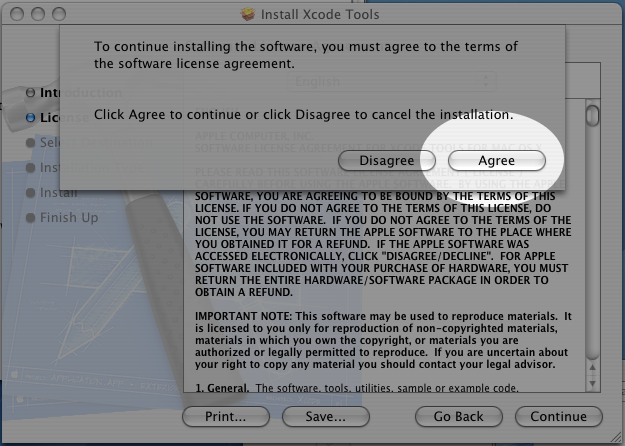
- Then click "Agree".
|
|
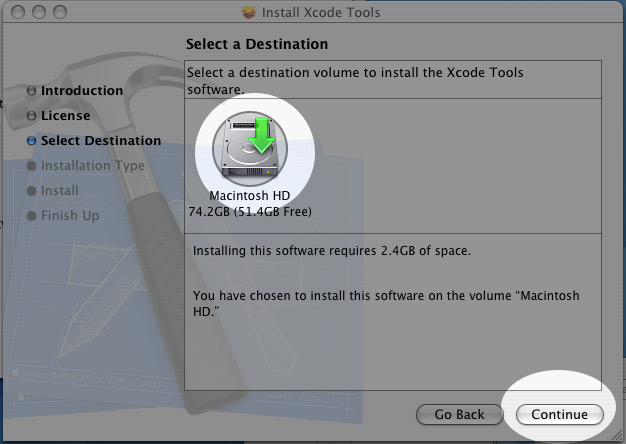
Xcode Tools Step 5
- If not already selected, select your Main Hard Disk, so that a green arrow points at it.
- Then click "Continue".
|
|
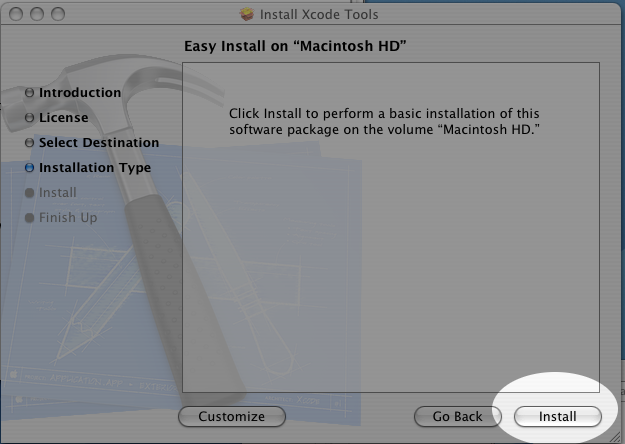
Xcode Tools Step 6
- Click "Install"
- (If you get a message like "Nothing to install", go on to
install X11)
|
|
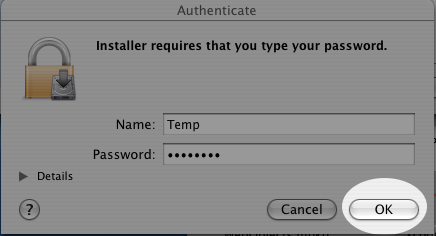
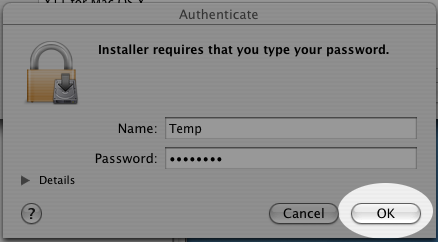
Xcode Tools Step 7
- Enter in the Administrative Password.
- Click OK.
|
|
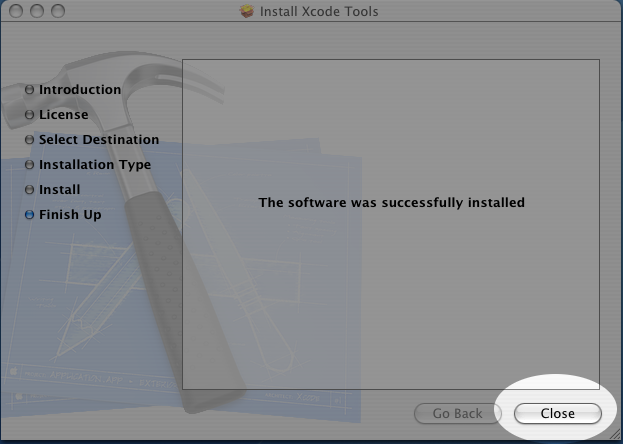
Xcode Tools Step 8
- The software will install.
- When it is done, click "Close".
- You are done installing Xcode Tools!
|
|
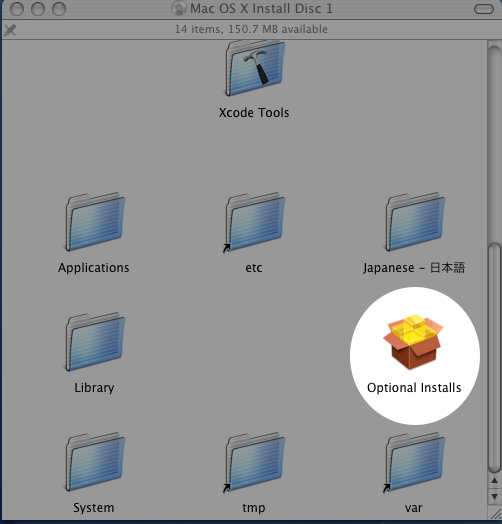
X11 Step 1
- Insert the Macintosh OSX Install DVD disk 1. Wait for the CD folder to open.
- Scroll the window down slightly.
- Open the "Optional Installs" package.
|
|
X11 Step 2
|
|
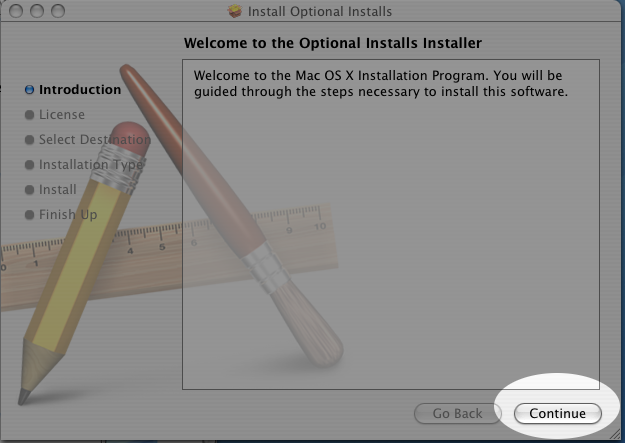
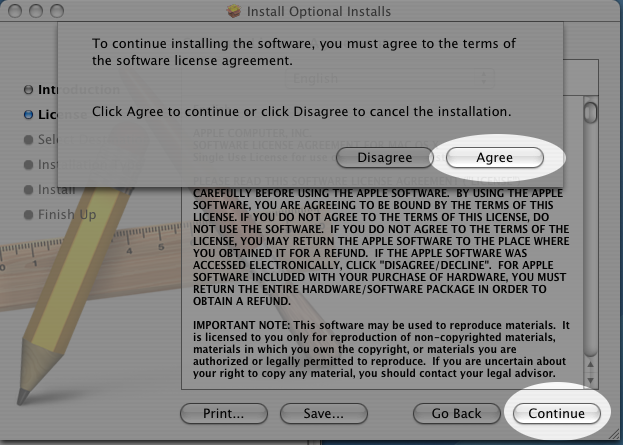
X11 Step 3
- Click Continue
- Click Agree
|
|
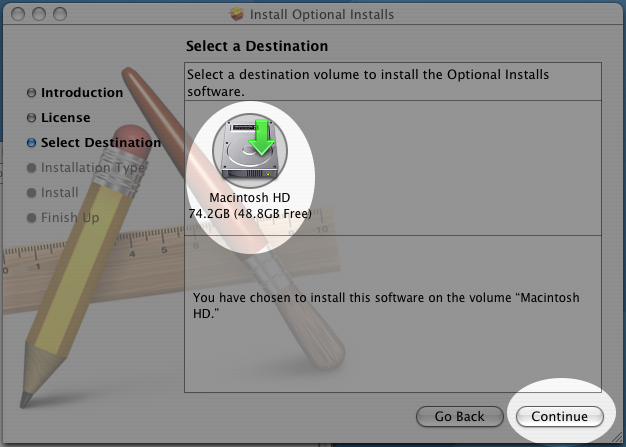
X11 Step 4
- If not already selected, choose your main Hard Disk, so that it
has a green arrow pointed at it.
- Click Continue
|
|
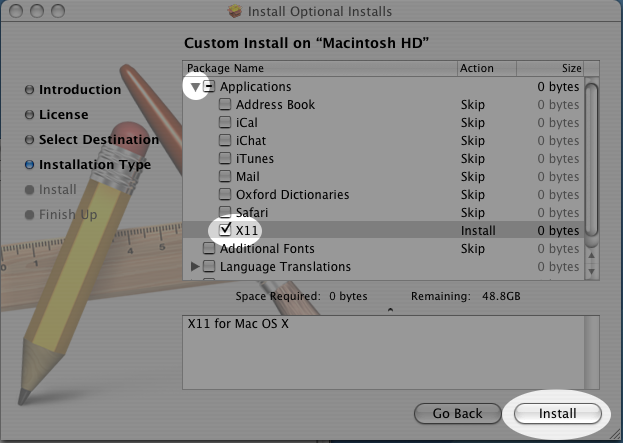
X11 Step 5
- Click the arrow next to "Applications" so that it points downward.
- Check the box next to "X11".
- Click "Install"
|
|
X11 Step 6
- Enter in your password.
- Click OK
|
|
X11 Step 7
- Wait until the software is installed.
- Click "Close"
- You have now installed X11 libraries.
|

|